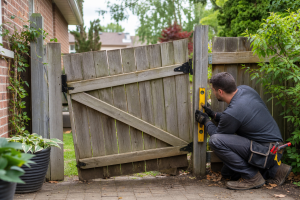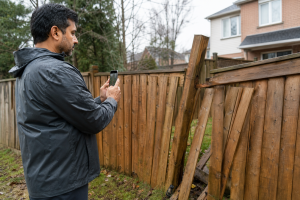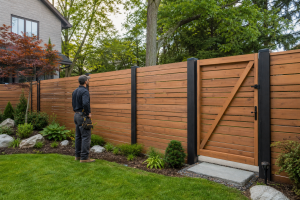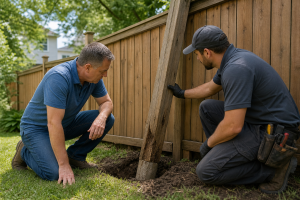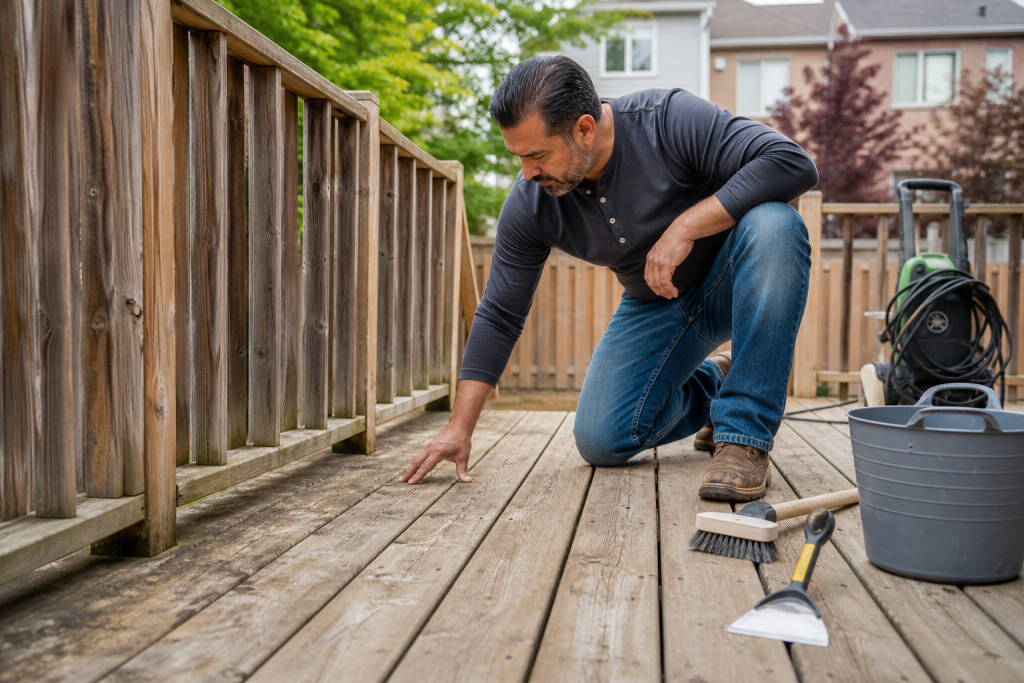
Good deck staining techniques begin before the stain is opened. A finish can improve sound, properly prepared wood, but it cannot correct rot, loose boards, unstable railings, trapped dirt, or an unsuitable existing coating.
The important decision is not simply how to apply stain. It is whether the deck is ready for a finish at all, and whether stain is the right choice for the appearance and condition of the surface.
Key Takeaways
- Proper deck preparation is crucial for achieving a long-lasting finish.
- Common mistakes include staining over rot and neglecting to clean the surface thoroughly.
- Consider hiring professionals for extensive repairs or assessments.
- Regular maintenance can prolong the life of your deck and its finish.
- Choosing between stain and paint depends on the desired appearance and condition of the deck.
Check the Deck’s Condition Before Choosing a Finish
Walk over the entire deck and examine the boards, stairs, posts, supports, and railings. Look for soft or crumbling wood, boards that move underfoot, visible cracks, loose fasteners, leaning components, and railings that do not feel secure. These are condition issues, not cosmetic imperfections.
Rot and structural weakness should be addressed before cleaning and staining. Immediate Fence Repair describes its deck maintenance process as starting with an inspection for wood rot, loose boards, and structural weaknesses, followed by repairs where needed. A coating may change the colour of damaged wood, but it will not make compromised material sound.
Consider the existing finish as well. Bare, weathered wood may need a different preparation approach from a deck with an older stain or opaque coating. If you do not know what is already on the deck, do not assume a new product will adhere properly over it.
Preparation Mistakes That Can Undermine the Finish

Staining over rot or loose boards
This treats a repair problem as a finishing problem. Repair or replace damaged components first, and do not overlook stairs or railings simply because the walking surface looks acceptable.
Applying stain over dirt and organic build-up
Dust, mud, mould, and algae can affect the appearance and adhesion of a finish. Cleaning is not an optional cosmetic step. It gives you a clearer view of the wood and creates a more suitable surface for the next stage.
Rushing from washing to finishing
The deck must be suitable for finishing after cleaning. Follow the chosen product’s instructions and allow the surface to reach the required condition. There is no universal drying time because the right interval depends on the product, surface, and conditions.
Skipping surface preparation
Cleaning, sanding, and priming solve different problems. Cleaning removes contamination, sanding can address rough areas or residue, and primer may suit some painted or difficult surfaces. The combination should reflect the existing coating and selected finish.
Ignoring nearby surfaces
Stain can reach siding, masonry, plants, furniture, and adjacent surfaces. Move or cover items as appropriate and plan the work so the finish is applied only where intended.
A Better Sequence for Deck Staining
- Inspect. Check the structure, boards, stairs, railings, and visible fasteners. Identify repairs before buying a finish.
- Repair. Address rot, loose boards, damaged sections, and unstable railings. Arrange an assessment if damage is extensive.
- Clean. Remove dirt and organic build-up using a method suitable for the deck and surrounding property.
- Prepare. Deal with rough surfaces, remaining residue, and existing coatings as required by the selected product.
- Choose the finish. Decide whether you want visible wood grain or a more opaque appearance. Follow the product directions.
- Apply carefully. Work methodically, keep the finish consistent, and protect nearby surfaces.
- Plan ongoing care. Record what was used and monitor the deck for wear, moisture-related damage, or loose components.
Before applying stain, proper cleaning and ongoing care are essential, which is why many homeowners use deck maintenance services to support inspection, repairs, cleaning, sealing, staining, and recurring care.
For another perspective on preparing an exterior surface, the clean finish renovation process also illustrates why careful preparation matters before applying a finish.
Stain or Paint: Which Finish Fits Your Deck?
Stain and paint can both be reasonable choices, but they create different visual results. Stain generally suits homeowners who want to preserve or emphasize natural wood. Paint creates a more opaque finish and can provide a stronger colour change.
| Decision factor | Stain | Paint |
|---|---|---|
| Appearance | Can preserve or highlight more wood grain, depending on the product and surface. | Provides a more opaque, solid-looking appearance. |
| Preparation | Still requires inspection, cleaning, repairs, and suitable preparation. | Often requires particularly careful preparation over an existing finish. |
| Key question | Do you want the wood character to remain visible? | Do you want a uniform colour or stronger visual change? |
| Upkeep | Monitor colour, wear, dirt, and exposed areas. | Monitor the coating for wear, peeling, or touch-up needs. |
Neither option is right for every deck. Material, condition, previous coating, desired appearance, and willingness to maintain the surface should all inform the decision.
Although staining preserves natural grain, the deck painting process shows why cleaning, sanding, and priming can matter before applying an opaque protective finish.
Pre-Staining Checklist for Homeowners
- Condition: Check for rot, soft wood, cracks, loose boards, and damaged stairs.
- Railings and supports: Confirm that railings and visible structural components appear stable.
- Repairs: Complete necessary repairs rather than covering them with stain.
- Cleanliness: Remove dirt, mould, algae, and other build-up.
- Existing coating: Identify what is already on the surface and confirm compatibility.
- Preparation: Determine whether sanding, priming, or another step is needed.
- Protection: Plan how to protect siding, plants, furniture, and nearby surfaces.
- Finish choice: Decide whether stain or paint better matches the desired result.
- Care plan: Plan how you will inspect, clean, and respond to wear afterward.
When to Pause and Request an Assessment
DIY staining may be reasonable when the deck is sound, preparation is manageable, and you understand the product instructions. Pause when you find widespread rot, structural weakness, multiple damaged boards, loose railings, or an existing coating that you cannot identify or prepare confidently.
An assessment is also useful when the deck looks acceptable from above but feels unstable underfoot, or when isolated damage may be part of a larger problem. The goal is to understand the deck’s condition before investing in a finish.
When requesting an assessment, provide photographs, describe where the deck feels soft or loose, identify any known previous coating, and explain whether your priority is natural wood appearance, colour change, entertaining space, or simpler upkeep.
Plan for Maintenance After Staining
Staining is not the final decision in the deck’s life. Continue inspecting the walking surface, stairs, railings, and visible supports for dirt, fading, wear, moisture-related deterioration, loose boards, and changes in how the deck feels underfoot.
Regular cleaning and timely touch-ups can help you respond before small concerns become larger repair projects. The right maintenance approach depends on the material, finish, exposure, and condition, so avoid treating one schedule as universal.
Keep a record of the product used, areas repaired, and date of the work. This makes future maintenance conversations more precise.
Frequently Asked Questions
Can I stain a deck that has loose or damaged boards?
Do not use stain as a substitute for repair. Assess and repair loose or damaged boards first, then check stairs, railings, supports, and other sections for related problems.
How do I know whether my deck needs stain or paint?
Start with the appearance you want. Stain retains more natural wood character, while paint provides a more opaque look. The existing coating and required preparation also matter.
Why does deck cleaning need to happen before staining?
Cleaning removes dirt and organic build-up that can affect the finish and exposes damage or rough areas. It also gives you a more accurate view of whether the deck is ready.
Should I sand or prime a deck before applying a finish?
That depends on the deck’s condition, existing coating, and selected finish. Sanding may help with rough areas or residue, while primer may suit some painted or difficult surfaces. Follow the product’s requirements.
When should I ask a professional to assess my deck?
Request an assessment when you find rot, structural weakness, extensive damage, loose railings, uncertain coatings, or preparation beyond your comfort level.
Make Preparation the First Deck-Staining Technique
The most useful deck staining techniques are decision-making techniques: inspect before coating, repair before beautifying, clean before preparing, and choose the finish based on the deck’s condition and the appearance you want.
If the deck is sound and preparation is clear, move forward with a careful, product-led plan. If you find rot, weakness, extensive damage, or uncertainty about the existing surface, pause and get an assessment.
For homeowners in Mississauga and across the GTA, Immediate Fence Repair offers deck maintenance, cleaning, repairs, sealing, staining, and painting support as part of its fence and deck services.