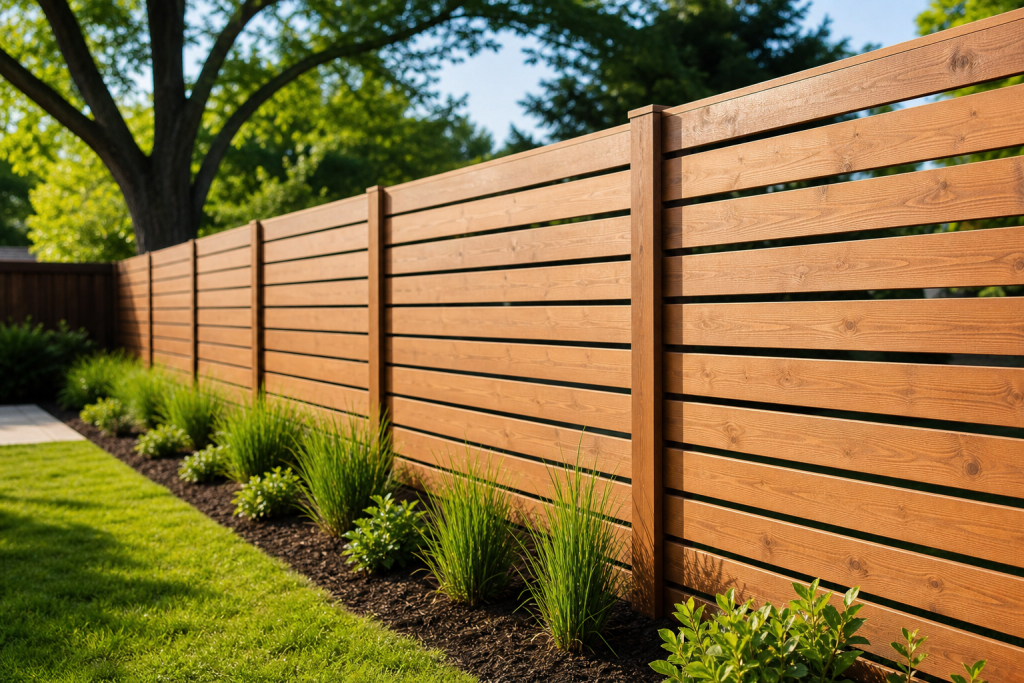
What is a horizontal board-to-board fence and when to choose it
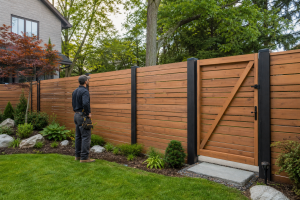
A horizontal board-to-board fence design runs boards parallel to the ground and uses an overlapping double layer to block sightlines from both sides. The board-to-board approach offsets or overlaps two layers of boards against horizontal rails, producing a sealed, continuous face. This differs from tongue-and-groove systems that interlock boards and from single-layer vertical privacy fences that rely on butted boards or narrow gaps.
Horizontal styles give a modern look but increase structural demands: gravity pulls perpendicular to the board span, so you must plan post spacing, board thickness, and framing to avoid sag and warp. For practical design notes and common tradeoffs, see industry how-to resources and regional examples.
How board-to-board achieves privacy
The overlapping layers place seams on different planes so sightlines are blocked without visible gaps. Because two layers are required, board-to-board typically uses about 50 percent more pickets than a single-layer privacy fence, a factor to budget into material estimates.
When tongue-and-groove is a better fit
Tongue-and-groove boards interlock for a flush, sealed surface without a second layer. That method yields a tighter finish but needs precision milling and careful installation. Choose tongue-and-groove if you want a slim, engineered profile and can accommodate the tighter tolerances during construction.
Visual and maintenance tradeoffs
Board-to-board creates deep privacy and distinct shadow lines. Expect higher lumber use and a greater need for prompt sealing or staining in Ontario’s freeze-thaw climate. Composite boards reduce maintenance but change framing and fastener requirements because they expand and contract differently from wood.
Plan first: property lines, neighbours, permits, and slope
Confirm property lines and local bylaws before buying materials or digging. Check municipal height limits, setback rules, and any homeowners association requirements. Talk to neighbours if the fence sits on a shared lot line. Plan gate swing, snow clearance, and how the fence will meet driveways and public walkways.
What to bring to a municipal office or contractor
- Scaled sketch of the proposed fence line and distances to known property markers
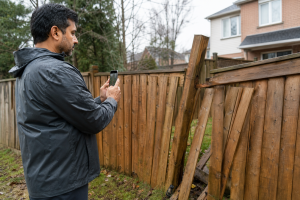
- Photos of existing conditions, driveways, and slope changes
- Desired fence height, a style reference (horizontal board-to-board), and preferred materials
How slopes affect post heights and stepped versus raked panels
On slopes you can build stepped panels, where each panel is level but offset, or raked panels, where the boards follow the slope line. Stepped panels are simpler and usually stronger; raked panels give a continuous diagonal aesthetic but require more exact post heights and framing adjustments. Decide which approach you prefer before setting posts.
Choose materials: cedar, pressure-treated, or composite
Material choice affects durability, maintenance, and framing needs for the GTA climate. Common options are cedar, pressure-treated lumber, and composite boards.
Why cedar is common for board-on-board
Cedar resists rot naturally, has stable grain, and gives a warm appearance. When sealed or stained it performs well through Ontario winters, making it a frequent choice for the visible facing boards.
When to choose pressure-treated wood
Pressure-treated pine is economical and durable for posts and rails in contact with the ground. For visible horizontal boards choose higher-grade, kiln-dried boards to reduce initial warping, and follow drying and sealing guidance for best results.
Composite pros and cons for horizontal installation
Composite requires less ongoing maintenance but expands and contracts more than wood. This affects allowable board spans, fastener selection, and framing spacing. Composite may need closer post spacing or reinforced framing on long runs.
How board thickness and width change structural demands
Horizontal boards face bending stresses across their span. Thicker boards or narrower widths resist sag better. If you plan wider post spacing, choose thicker boards or add intermediate framing to keep boards straight; using deck-style 5/4 boards is one common strategy for horizontal applications.
Structural design: post spacing, rails, and attachment strategies

Post spacing and framing determine whether the fence remains straight and private. Many horizontal builds use closer spacing than long, contemporary runs to reduce sag risk.
Post spacing: typical ranges and consequences
Plan posts about 6 feet apart for most horizontal projects. Extending to 8 feet is possible only with thicker boards and stronger framing. Wider spacing increases bending loads on boards and rails and raises the chance of sag and deflection; 6-foot spacing is a practical compromise for most homeowners.
Framing layouts for long runs and corners
Common framing uses two or three horizontal rails per panel, typically 2-by members with a mid-rail for long spans. Add a continuous top rail and center blocking where board joints will fall. Corners and gates should use heavier posts, diagonal bracing, or steel reinforcement to resist twist and frequent loading.
Fastener type and pattern for horizontal boards
Use stainless or hot-dipped galvanized screws for corrosion resistance. Fasten through the board face into framing members at consistent intervals and stagger joints so they do not align on the same rail. For board-on-board builds, ensure second-layer fasteners penetrate the top and bottom boards plus the rail beneath for secure holding.
Step-by-step installation with stop points and checks
Follow these phases. Each phase ends with a stop point where you inspect, verify, and allow time before continuing.
Phase 1: site prep and layout
- Mark the fence line with stakes and string after confirming property markers.
- Call utility locates and mark underground lines before digging.
- Measure panel lengths and note gate and corner locations.
- Stop point: review your measured plan and confirm any permits or neighbour agreements required.
Phase 2: post set and curing checks
- Dig post holes to frost depth for your area and set posts in concrete, plumb and square.
- Brace posts while concrete cures; allow an initial cure period (commonly 48 to 72 hours) before loading posts with full framing and boards.
- Stop point: confirm each post is plumb within tolerance and concrete has reached its initial set before attaching rails.
Phase 3: framing and level checks
- Attach rails while checking alignment with a continuous string line along the top rail.
- Install mid-rails or blocking where board joints will land and where extra stiffness is needed.
- Stop point: inspect for twisted or bowed rails and correct issues before nailing boards.
Phase 4: board installation and staggering joins
- Install the first layer of horizontal boards, keeping consistent reveals and ensuring ends land on blocking or framing.
- Fit the second layer offset to overlap seams and fasten through into the rails; stagger joints between layers to avoid aligned weak points.
- Finish gates and corners with reinforced framing and hardware rated for the fence weight.
- Stop point: perform a full inspection of fastener penetration, alignment, and gate operation before finishing.
Common mistakes: warping, sagging, and insufficient fasteners
Address these frequent failure modes with the listed fixes.
Warping causes and fixes
Warping commonly results from thin, poorly dried boards used horizontally without prompt sealing. Use kiln-dried boards for visible faces, seal or stain exposed wood quickly, and add blocking at joints to reduce unsupported lengths.
How inadequate posts accelerate failure
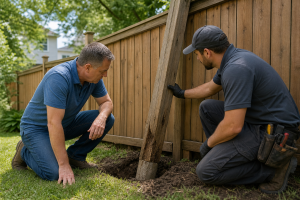
Undersized posts or too-wide spacing let rails and boards bend under wind and load. Use heavier posts at corners and gates, adhere to recommended spacing near 6 feet, and add a mid-rail or extra posts for long spans.
Gate and corner strengthening tips
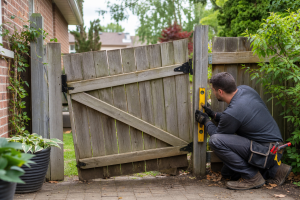
Use metal straps, through-bolts, and pressure-treated posts for gate supports. Install diagonal bracing and pick hinges rated for the gate size to prevent sag over time.
Maintenance checklist and winter care for Ontario conditions

Routine maintenance extends a horizontal board-to-board fence’s life in freeze-thaw climates.
- Inspect posts, rails, and fasteners every spring and after severe winters.
- Re-seal or re-stain exposed wood every few years, following product recommendations and finish wear.
- Clear heavy snow drifts from the fence face so sustained lateral loads do not push boards outward.
- Replace corroded fasteners and tighten loose connections promptly.
When to hire a pro and what to bring to the site visit
Hire a contractor if you lack experience setting posts to frost depth, working near utilities, or need a guaranteed straight run across long spans. Immediate Fence Repair provides on-site estimates and handles end-to-end fence and deck services in Mississauga and the GTA; bring your sketch, photos, and material preferences for a tailored quote (Immediate Fence Repair).
Questions to ask a fence contractor Mississauga
- Do you verify property lines and check municipal permit requirements?
- What post depth and concrete mix do you use for local freeze-thaw conditions?
- Which fasteners and corrosion protection do you recommend for my chosen material?
What a reliable quote should include
A good quote lists material types and grades, post size and spacing, framing details, gate hardware, labour, and an estimated schedule. Ask for references and photos of similar horizontal board-to-board projects.
Frequently asked questions
What post spacing should I plan for a horizontal board-to-board fence?
Plan around 6 feet for typical horizontal builds. Extending to 8 feet is possible only with thicker boards and reinforced framing, but wider spans increase sag risk so most builders recommend closer spacing.
Is cedar or pressure-treated wood better for a horizontal board-to-board fence in Mississauga?
Cedar is prized for appearance and natural rot resistance and is common for facing boards. Pressure-treated wood is durable for structural elements like posts and rails. Many builders combine treated posts and rails with cedar facing boards for a good balance of durability and appearance.
How much extra lumber does board-to-board construction need compared with a standard privacy fence?
Board-on-board overlapping commonly requires about 50 percent more pickets than a single-layer privacy fence because of the second layer of boards.
Can I build a horizontal board-to-board fence on a slope or do I need stepped panels?
Both stepped panels and raked boards are possible. Stepped panels are simpler and usually stronger; raked boards create a continuous diagonal look but need more precise post height planning and framing. Choose the method that matches your skill level and desired appearance.
What should I ask a fence contractor during an on-site assessment?
Bring your desired style, photos, property line details, and ask about post depths, material grades, fastening methods, finish recommendations, warranty terms, and a written, itemized quote to compare bids fairly.
Key technical references for horizontal and board-on-board techniques include resources from Fence Advisors, Engineer Fix, Local.Click, FenceDeckSupply, and FenceReport for planning and construction specifics:
Fence Advisors,
Engineer Fix,
board on board fence ontario,
FenceDeckSupply, and
FenceReport.
Ready to get an on-site estimate and bring your sketch and photos to a local pro?