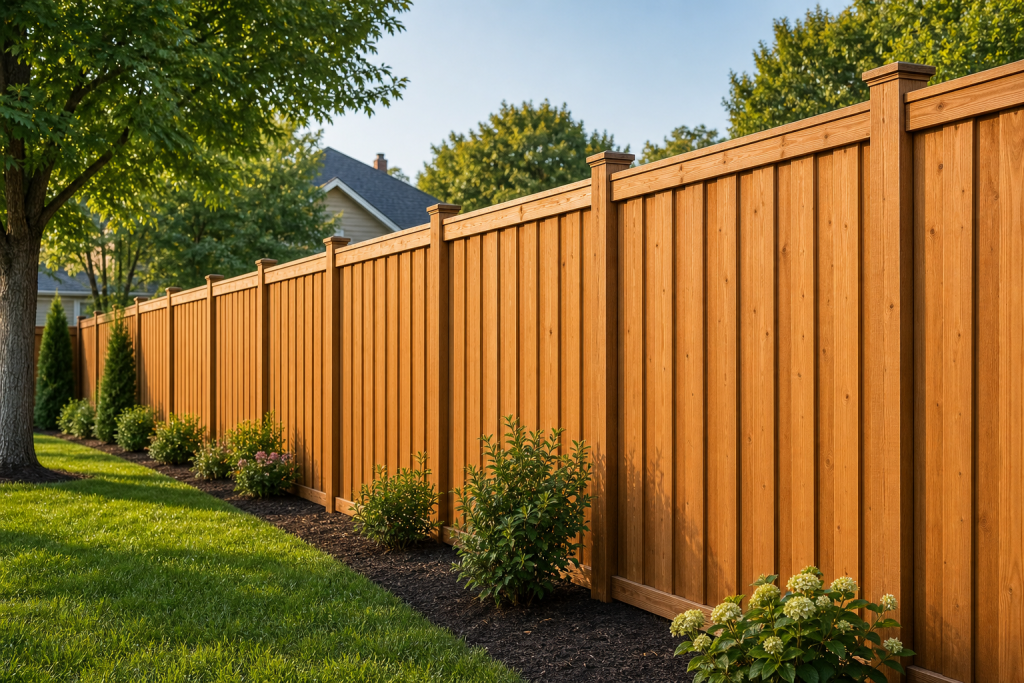
Installing a fully privacy wooden fence is a manageable project if you plan carefully, confirm boundaries, and follow reliable construction steps. This guide gives an ordered, homeowner-focused process that covers planning and measuring, choosing materials and tools, setting posts and building panels, finishing for the Greater Toronto Area climate, and clear decision points where you should stop and call a contractor.
Decide first: can you safely complete this job or should you call a professional
Before you dig, evaluate complexity so you do not begin a project you will not finish. Consider hiring a professional when any of the following apply: long runs over 50 metres, steep grade changes or retaining walls, multiple or oversized gates, many existing rotten or heaved posts, unclear property lines, or limited access for machines. Contractors will also spot drainage or landscaping issues that shorten a fence life.
If you want a professional assessment, Immediate Fence Repair offers on-site inspections and written recommendations on repair versus replacement. Visit Immediate Fence Repair for service details and to request a callback.
Step 1: plan and measure the site
A clear plan turns an idea into an accurate materials list and cut list.
- Walk the fence line and record the total linear length, number and width of gates, and any jogs or terraces.
- Mark the property line with flags, then count required fence sections. A simple count method is posts = round(total length / planned spacing) + 1.
- Measure slope by recording rise over a known run. Decide whether to use stepped panels, racked panels, or a continuous top with an adjusted bottom gap for consistent screening.
- Document obstacles: trees, driveways, utility poles, sidewalks, and buried services. Add access points for construction and cleanup.
- Create a cut and materials list: number of posts, rails, pickets or boards, fasteners, concrete, gravel, gate hardware, stain or sealer, and tools you need to rent or buy.
Stop point: before you dig, confirm boundaries and call utility locates. In Ontario call your local utility locating service to mark underground lines. Do not begin footings until utilities are marked and neighbours or the municipality have confirmed the property line.
Step 2: choose materials and tools

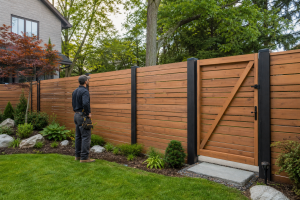
Material choice determines long-term performance and maintenance. For a classic privacy fence most homeowners choose solid boards, often 140 to 150 mm wide, installed tightly edge to edge or in a board-on-board layout to prevent sight lines. For a local overview of wood fence styles and tradeoffs, see the This Old House guide to wood fences.
Common wood choices and why homeowners pick them:
- Cedar, for natural rot resistance, stability, and an attractive finish with moderate maintenance.
- Pressure-treated pine, for lower cost and good decay resistance when sealed or painted.
- Composite boards, for lower ongoing maintenance and stable colour, though they are heavier and more costly up front.
Basic tools and supplies checklist to copy for suppliers or rentals:
- Post hole digger or powered auger, shovel, wheelbarrow, and tamping tool
- String line, stakes, measuring tape, spirit level, and a laser level if available
- Circular saw and miter saw, drill/driver, framing nailer or screw gun
- Galvanized or stainless steel screws, exterior-rated nails, gate hardware, and joist hangers if needed
- Ready-mix concrete or post-mix, coarse gravel for drainage, and a bag of quick-set for small adjustments
- Safety equipment: gloves, eye protection, hearing protection, high-traction footwear, and a first-aid kit
Step 3: mark layout, set posts, and dig footings
Posts are the structural backbone. Accurate layout and solid footings stop movement, bowing, and early failure.
- Stretch a string line between terminal points and transfer post centres with stakes and a marker.
- Choose post spacing to match panel width. Typical privacy fence spacing is about 1.8 to 2.4 metres, depending on material and wind exposure. Match spacing to standard board or panel widths to reduce waste.
- For each hole, dig to the depth required for frost and local soil conditions. Provide a gravel base for drainage, set the post plumb in two directions, and secure it while you pour or tamp back material.
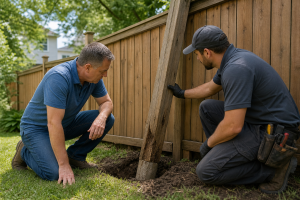
Practical tips: check each post with a level and a straightedge before concrete sets. If a post will not hold plumb within a small tolerance, reset it rather than force panels to align. Replace posts with detected rot or excessive play, because a weak post compromises the entire run.
Decision checkpoint: if three or more posts show significant rot at ground level, or several posts move when pushed, stop the DIY plan and schedule a professional inspection. A contractor can advise whether post replacement only or a full rebuild is the best value.
Step 4: build panels and fasten to posts
Panels can be built horizontally on the ground and lifted into position, or constructed in place. For a fully privacy result you can use board-on-board, shadowbox, or tightly butted pickets. Choose a method that minimises gaps and allows for wood movement.
- Attach two horizontal rails for a 1.8 metre high fence, and add a third rail for extra strength on taller or wind-exposed spans.
- Fasten pickets to rails with exterior-grade screws for best holding power and easier future replacement. Pre-drill where necessary to avoid splitting.
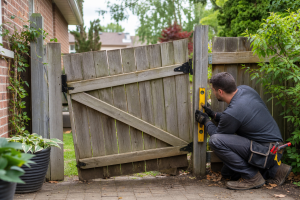
- Build gates with a robust frame, diagonal bracing from the hinge corner down to the latch corner, and heavy-duty hinges sized for weight. Confirm gate swing and keep a 10 to 20 mm clearance at the bottom for frost and settlement.
Safety stop: before final fastening, verify posts are plumb and all panel tops follow the string line. If alignment errors exceed a few millimetres per section, correct the post or panel now rather than later.
Step 5: finish and protect the fence for GTA weather

Finishing extends life and preserves appearance. In the Greater Toronto Area wet springs and freeze-thaw cycles increase rot risk if boards are untreated. Apply a water-repellent preservative or semi-transparent stain within a few weeks of installation for pressure-treated lumber. Cedar benefits from clear or semi-transparent sealers to reduce graying and cracking. For more on wood fence performance and finishes, consult the This Old House overview.
Maintenance checklist for the first three years and ongoing:
- Inspect posts, rails, and fasteners every spring and after major storms.
- Tighten or replace loose fasteners, and replace boards with visible rot or severe splitting.
- Reapply stain or sealer as the product recommends, commonly every two to four years depending on exposure and finish type.
- Clear vegetation and soil contact away from the fence to reduce moisture transfer and insect issues.
If you prefer to avoid regular maintenance, consider composite boards or schedule professional staining and repair services. Immediate Fence Repair offers seasonal maintenance for fences and decks across the GTA.
How to decide whether to repair posts and panels or replace the whole fence
Use visible, measurable signs to choose repair versus replacement. Repair or post replacement is suitable when damage is limited to a very small number of posts or a few panels and the below-ground portions of the other posts are sound. Full replacement is sensible when multiple posts are rotted at the base, long runs show continuous lean or sag, or fastener corrosion is widespread.
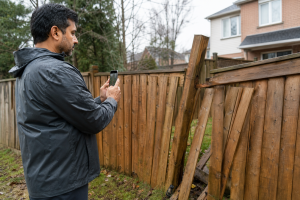
- Inspect the first 30 centimetres of each post for softness or crumbling wood, which indicates rot.
- Push on panels at multiple points. If the fence rocks at several locations, several posts may need replacement.
- If three or more sections show deep rot, or if the fence leans along a continuous run, request a professional assessment for replacement options and a written quote.
When in doubt, schedule a site visit. Immediate Fence Repair lists post repair and full installation among its core services and can provide a written assessment and quote.
What to expect when you hire a Mississauga contractor
A reputable contractor will provide an on-site assessment, a written quote that lists materials and labour, and a clear schedule. Professional crews focus on correct post setting, drainage at footings, secure hardware, neat gate operation, and complete site cleanup. Ask for a written scope that specifies post depth and diameter, footing method, lumber grade, fastener type, gate hardware brand or rating, and a warranty or satisfaction guarantee before work begins.
Hiring tip: check recent project photos and customer reviews, and confirm insurance and municipal business registration as part of due diligence.
Frequently asked questions
Do I need a permit to install a fully privacy wooden fence in Mississauga?
Rules vary by municipality and lot conditions. Check with the City of Mississauga or your local planning office and any homeowners association before installing a fence. If you need help, a professional contractor can advise on local rules and, when appropriate, handle permit submissions.
Can I reuse existing posts or should I always replace them?
Reusing posts is acceptable only when the post is structurally sound below grade and stays plumb after being reset. Replace posts with visible rot, significant movement, or damage at the base. When multiple posts show deterioration, replacing posts or the entire fence is the more durable choice.
How do I choose the best wood for a privacy fence in the GTA climate?
Cedar and pressure-treated pine are common choices. Cedar resists rot naturally and looks attractive with minimal treatment. Pressure-treated lumber is cost-effective and resists decay when sealed. Composite boards are an option for lower maintenance. For style comparisons and long-term performance, consult the This Old House guide referenced above.
How much does a fully privacy wooden fence cost and how do I get an accurate quote?
Costs depend on total length, gate quantity, material selection, footing type, site access, and labour. The only reliable way to get an accurate price is a professional on-site assessment. A written quote should list materials, labour hours, warranty terms, and a timeline. Immediate Fence Repair offers on-site quotes across the GTA and will explain options during the visit.
What does Immediate Fence Repair offer and how do I request a callback or appointment?
Immediate Fence Repair is a Mississauga-based fence and deck company offering fence repair, post repair, new wood and composite fence installation, chainlink fencing, custom gates, and deck services across the GTA. Visit Immediate Fence Repair to request a callback or book an appointment.
Ready to schedule an on-site assessment with Immediate Fence Repair?